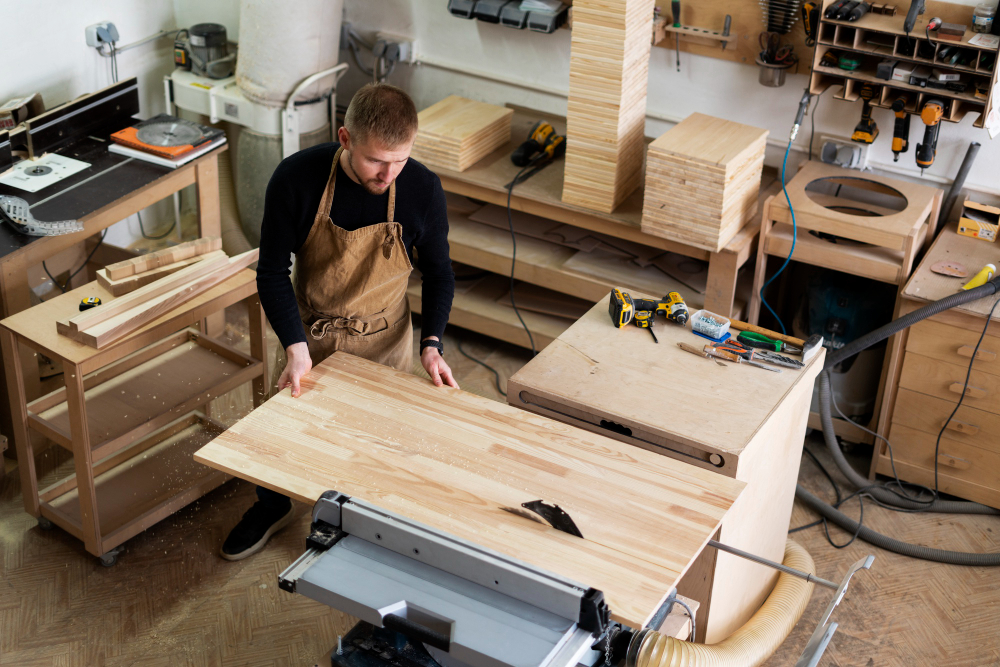
Are you ready to unleash your inner craftsman and create stunning pieces of furniture that reflect your personal style? Building your own furniture through DIY woodworking projects can be a rewarding and fulfilling endeavor. With the right tools, materials, and a bit of patience, you can transform raw wood into functional and beautiful pieces that add character to your living space. Here’s a step-by-step guide to get you started:
Plan Your Project
Begin by choosing a furniture piece that matches your skill level. Simple projects like a wooden coffee table or bookshelf are great for beginners. Sketch out your design, noting the measurements and materials required. This planning phase helps prevent mistakes and ensures you have a clear vision before you begin.
Gather Materials and Tools
Collect all the materials and tools you’ll need for your project. Basic tools include a saw, hammer, measuring tape, chisels, screwdrivers, and safety gear like goggles and gloves. Choose your wood carefully – hardwoods like oak, maple, or cherry are durable and provide a polished look.
Create a Workspace
Set up a dedicated workspace in a well-ventilated area, such as a garage or outdoor patio. Ensure you have a sturdy workbench to support your woodworking activities. Keep your tools organized and easily accessible for a smooth building process.
Measure and Cut
Following your design plan, measure and mark the wood pieces you’ll need. Accurate measurements are crucial for a successful project. Use your saw to make precise cuts, and always double-check measurements before cutting.
Sand and Smooth
Smooth out rough edges and surfaces using sandpaper or a power sander. This step not only enhances the appearance of your furniture but also prevents splinters. Start with coarse grit and gradually work your way to finer grits for a polished finish.
Assemble the Pieces
Assemble your furniture piece step by step, following your design. This might involve attaching joints, screws, or nails. Ensure everything aligns correctly before securing the pieces together.
Focus on Details
Pay attention to the details that make your furniture stand out. Add decorative elements like carved designs, beveled edges, or routed patterns. These details contribute to the uniqueness of your piece.
Apply Finish
Select a finish that suits your furniture’s purpose – options include paint, stain, varnish, or a combination. Apply the finish evenly, following the manufacturer’s instructions. This step not only enhances the appearance but also protects the wood from moisture and wear.
Allow for Drying Time
After applying the finish, allow your furniture to dry thoroughly. This might take a few hours to a couple of days, depending on the type of finish used.
Final Touches
Inspect your furniture for any imperfections or areas that need touch-ups. Sand down any rough spots and ensure all elements are secure and properly aligned.
Enjoy Your Creation
Once your DIY furniture piece is complete and fully dry, it’s time to place it in your desired location. Admire your handiwork and revel in the satisfaction of having built a functional and stylish piece of furniture from scratch.
Remember, woodworking is a skill that improves with practice. Don’t be discouraged by mistakes – they’re part of the learning process. As you gain experience, you can take on more complex projects and experiment with different techniques. Building your own furniture is a fulfilling hobby that allows you to express your creativity while crafting practical items that can last for generations.


0 Comments